
The Curriculum
Ten lessons. One pro workflow.
Follow the lessons in order. Each one builds on the last — by the end you'll run the kit exactly the way it was engineered.
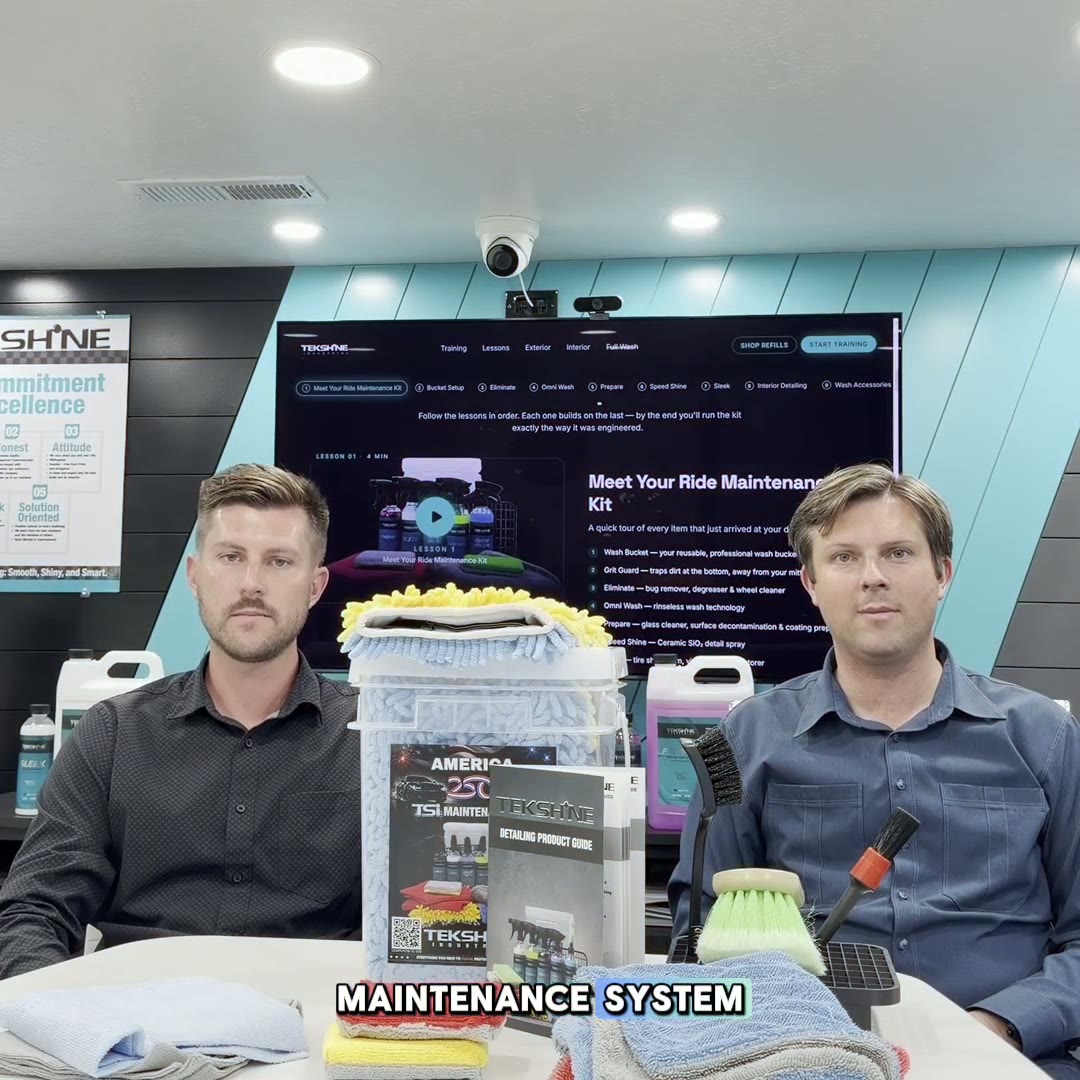
Meet Your Ride Maintenance Kit
A quick tour of every item that just arrived at your door.
- 1Wash Bucket — your reusable, professional wash bucket
- 2Grit Guard — traps dirt at the bottom, away from your mitt
- 3Eliminate — bug remover, degreaser & wheel cleaner
- 4Omni Wash — rinseless wash technology
- 5Prepare — glass cleaner, surface decontamination & coating prep
- 6Speed Shine — Ceramic SiO₂ detail spray
- 7Sleek — tire shine, trim, vinyl & leather restorer
- 8Wash Mitt, Drying Towel, Microfiber Towels, Tire Brush
"Now let's prepare your wash system."
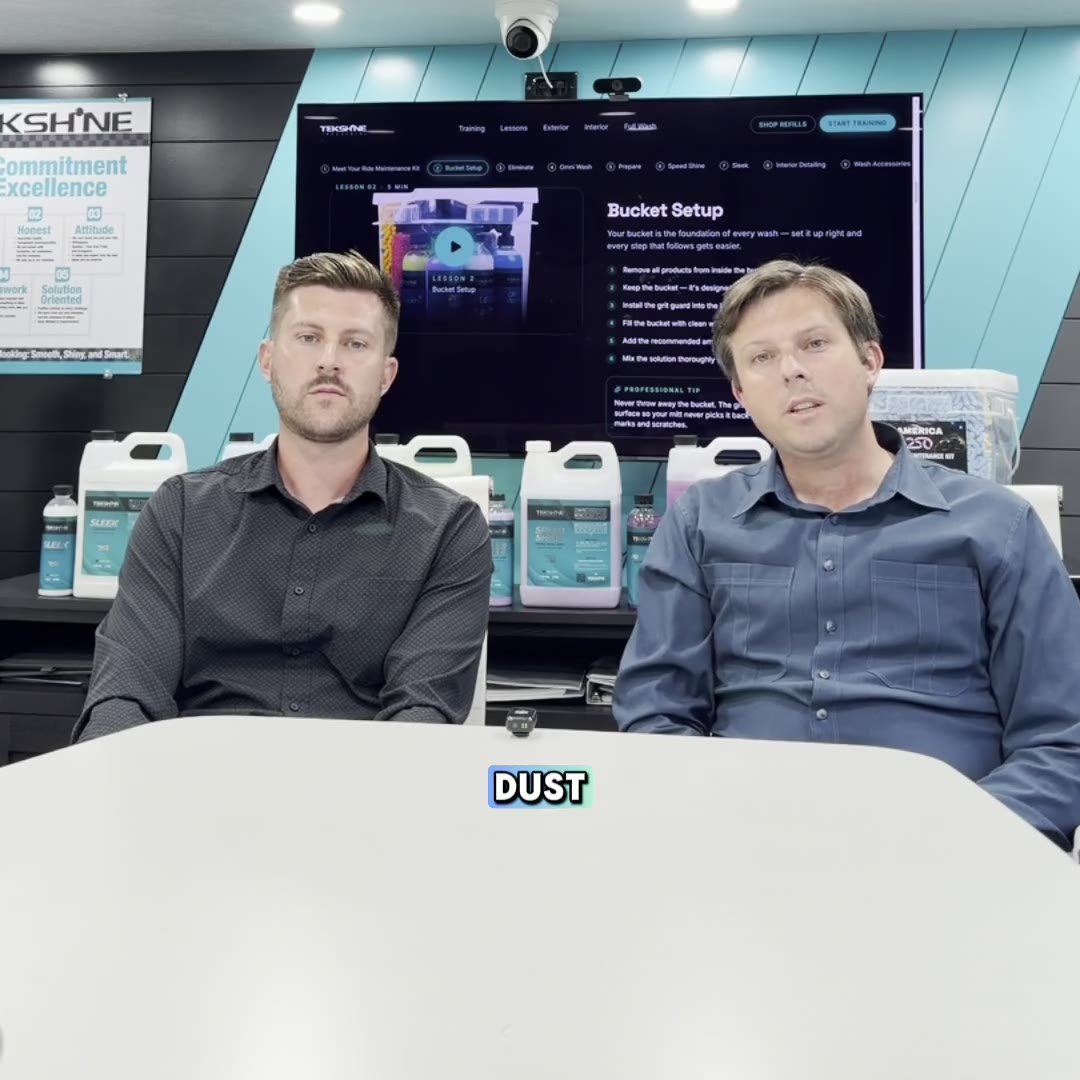
Bucket Setup
Your bucket is the foundation of every wash — set it up right and every step that follows gets easier.
- 1Remove all products from inside the bucket
- 2Keep the bucket — it's designed to be reused every wash
- 3Install the grit guard into the bottom of the bucket so it sits with the legs down
- 4Fill the bucket with clean water
- 5Add the recommended amount of Omni Wash
- 6Mix the solution thoroughly before washing
Professional Tip
Never throw away the bucket. The grit guard drops debris below the surface so your mitt never picks it back up — dramatically reducing swirl marks and scratches.

Eliminate
Purpose-built for bug removal, degreasing, and wheel cleaning.
- 1Target trouble areas: bug splatter, road grime, grease, and baked-on brake dust on wheels
- 2Spray Eliminate directly onto the affected surface
- 3Allow a short dwell time to break down contamination — do not let it dry
- 4Agitate wheels with the tire brush; use a dedicated mitt on bug-heavy panels
- 5Rinse thoroughly before moving to the next step
Professional Tip
Always work in the shade on cool surfaces. Keep Eliminate wet during dwell and rinse fully — especially on wheels and painted finishes.
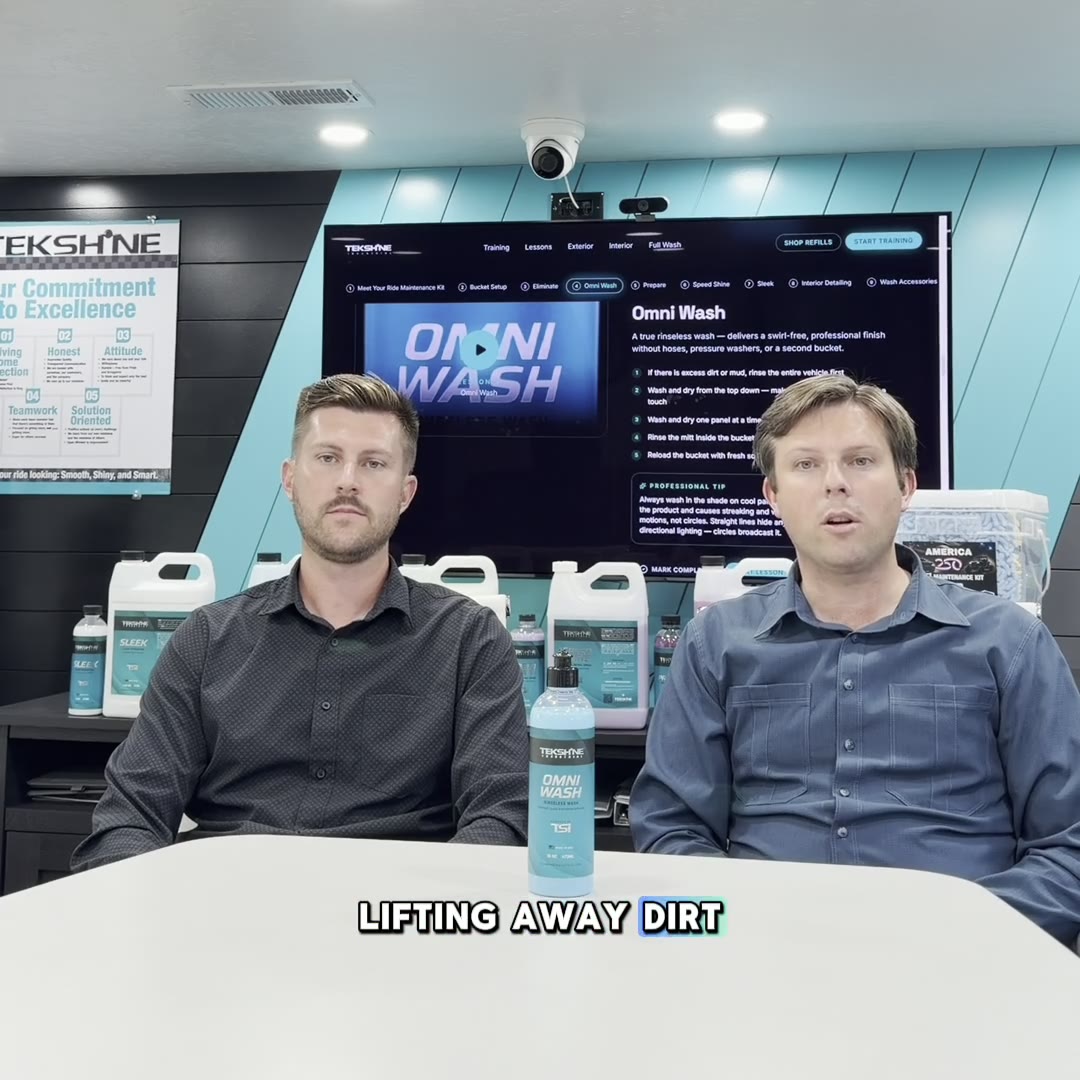
Omni Wash
A true rinseless wash — delivers a swirl-free, professional finish without hoses, pressure washers, or a second bucket.
- 1If there is excess dirt or mud, rinse the entire vehicle first
- 2Wash and dry from the top down — make sure panels are cool to the touch
- 3Wash and dry one panel at a time
- 4Rinse the mitt inside the bucket after every panel
- 5Reload the bucket with fresh soap halfway through the vehicle
Professional Tip
Always wash in the shade on cool panels — direct sunlight flash-dries the product and causes streaking and water spots. Use straight-line motions, not circles. Straight lines hide any incidental marring under directional lighting — circles broadcast it.
Prepare
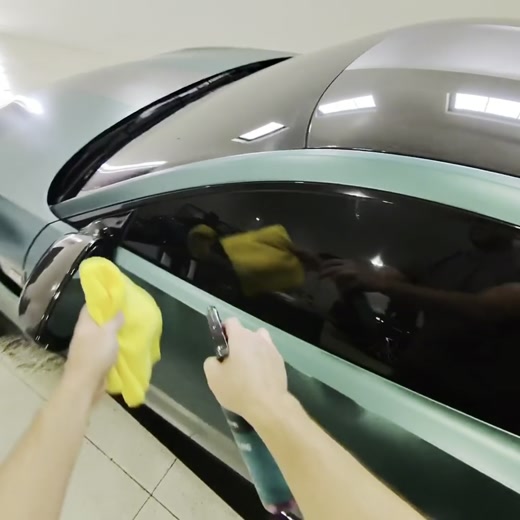
A streak-free glass cleaner that delivers crystal-clear visibility on every window and mirror.
- 1Start by cleaning the windows with Omni Wash to lift dirt, road film, and built-up grime
- 2Once the glass is clean and dry, mist Prepare directly onto the window for the final pass
- 3Wipe in one direction with a clean, dry microfiber, then flip to a dry side and buff for a streak-free, crystal-clear finish
- 4Work in the shade on cool glass — never in direct sunlight — to prevent flash-drying and streaks
- 5With the windows finished, move on to Speed Shine to enhance and protect the painted panels
Professional Tip
Use a dedicated glass-only microfiber — any residue from wax, dressings, or polish on a shared towel will smear and streak the glass.
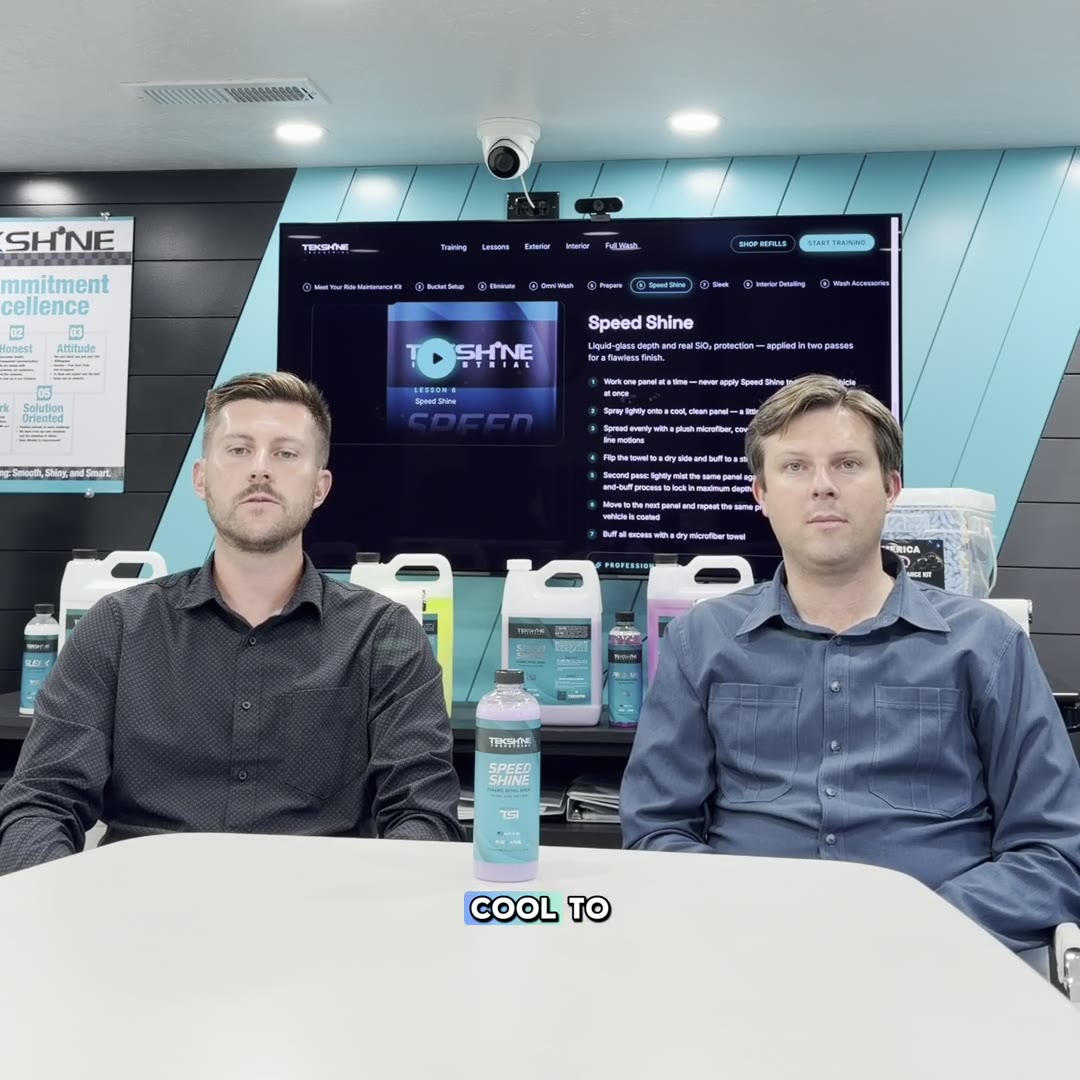
Speed Shine
Liquid-glass depth and real SiO₂ protection — applied in two passes for a flawless finish.
- 1Work one panel at a time — never apply Speed Shine to the entire vehicle at once
- 2Spray lightly onto a cool, clean panel — a little goes a long way
- 3Spread evenly with a plush microfiber, covering the full panel in straight-line motions
- 4Flip the towel to a dry side and buff to a streak-free, mirror finish
- 5Second pass: lightly mist the same panel again and repeat the spread-and-buff process to lock in maximum depth and protection
- 6Move to the next panel and repeat the same process until the entire vehicle is coated
- 7Buff all excess with a dry microfiber towel
Professional Tip
Always make sure panels are cool to the touch and out of direct sunlight before applying — heat causes Speed Shine to flash off and streak. Speed Shine also doubles as a drying aid: mist a damp panel after washing for instant gloss and protection. Always use Speed Shine after Prepare.

Sleek
Transform trim, tires, and vinyl back to a perfect shine.
- 1Apply a small amount to an applicator pad and work into plastic trim, rubber seals, and exterior vinyl
- 2For tires, spray directly onto the tire and work the product in with the green tire brush
- 3Spread evenly in overlapping passes for a rich, uniform finish across the surface
- 4Allow the product to absorb fully into the surface
- 5For a more satin finish, wipe away any excess with a clean microfiber towel or applicator pad
Professional Tip
Less product delivers a clean, factory-finish look — more product builds a deeper, glossier shine. Dial it in to match the finish you want. Use Prepare for overspray cleanup on rims or panels.
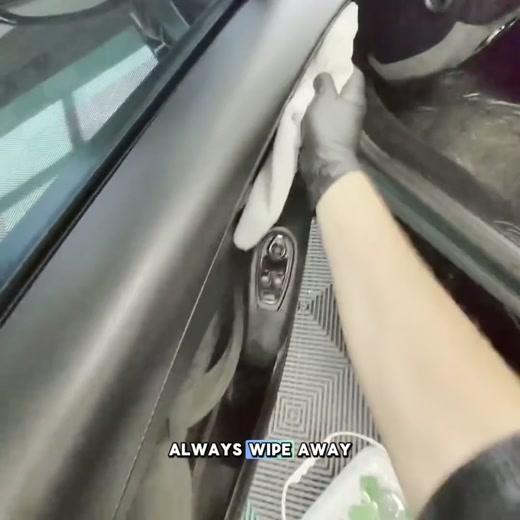
Interior Detailing
Refresh every interior surface — dash, console, seats, and glass.
- 1Start by vacuuming seats, carpets, mats, and crevices to remove all loose dust and debris before any product touches the surface
- 2Omni Wash — your all-purpose interior cleaner: mix one cap of Omni Wash into a bucket, then lightly dip a microfiber towel to lift dust and dirt from the dash, console, door panels, and trim, and finish with Speed Shine
- 3Eliminate — spray directly onto floor mats and high-traffic carpet to break down stains, spills, and ground-in grime, then agitate with a brush and wipe clean
- 4Prepare — your dedicated glass and electronics cleaner: spray onto a microfiber and wipe all interior glass, screens, and head units for a streak-free finish
- 5Sleek — your leather, plastic, and vinyl cleaner and conditioner: apply lightly with an applicator pad to restore a satin, factory-finish look while protecting the surface
Professional Tip
Dedicate a specific microfiber color to the interior only — interior contaminants will scratch your paint if those towels ever touch exterior surfaces.
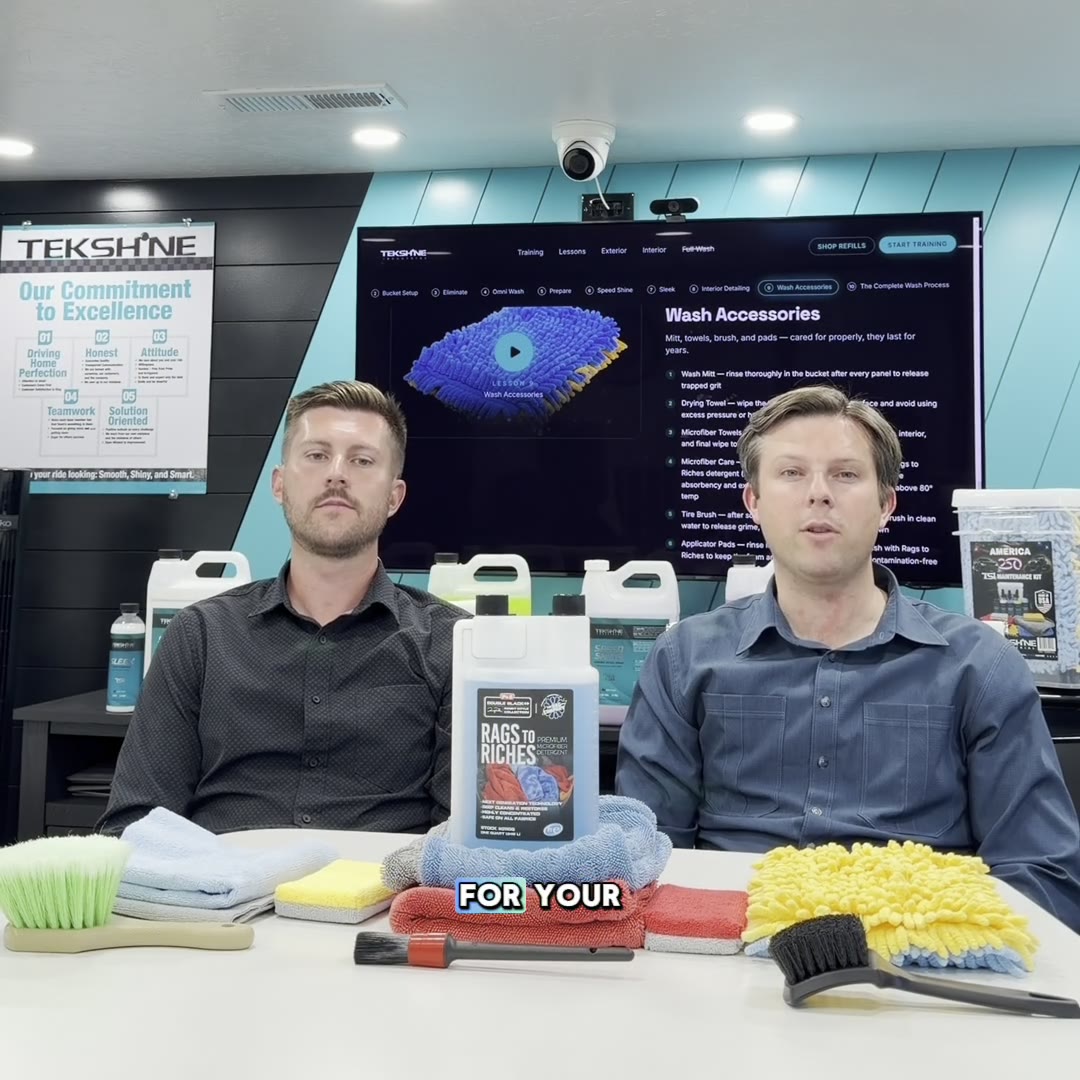
Wash Accessories
Mitt, towels, brush, and pads — cared for properly, they last for years.
- 1Wash Mitt — rinse thoroughly in the bucket after every panel to release trapped grit
- 2Drying Towel — wipe the towel gently across the surface and avoid using excess pressure or heavy wiping
- 3Microfiber Towels — dedicate colors to Prepare, Speed Shine, interior, and final wipe to prevent cross-contamination
- 4Microfiber Care — machine wash mitts and microfibers with Rags to Riches detergent (no fabric softener, no dryer sheets) to restore absorbency and extend their life. Do not use hot water or dry above 80° temp
- 5Tire Brush — after scrubbing tires with Eliminate, swirl the brush in clean water to release grime, shake out, and air-dry bristles down
- 6Applicator Pads — rinse immediately after use, then wash with Rags to Riches to keep the foam and microfiber face soft and contamination-free
Professional Tip
Keep towels separated by job and never use household detergent on microfiber — fabric softeners coat the fibers and ruin their cleaning power. Cross-contamination is the #1 cause of swirl marks at home.
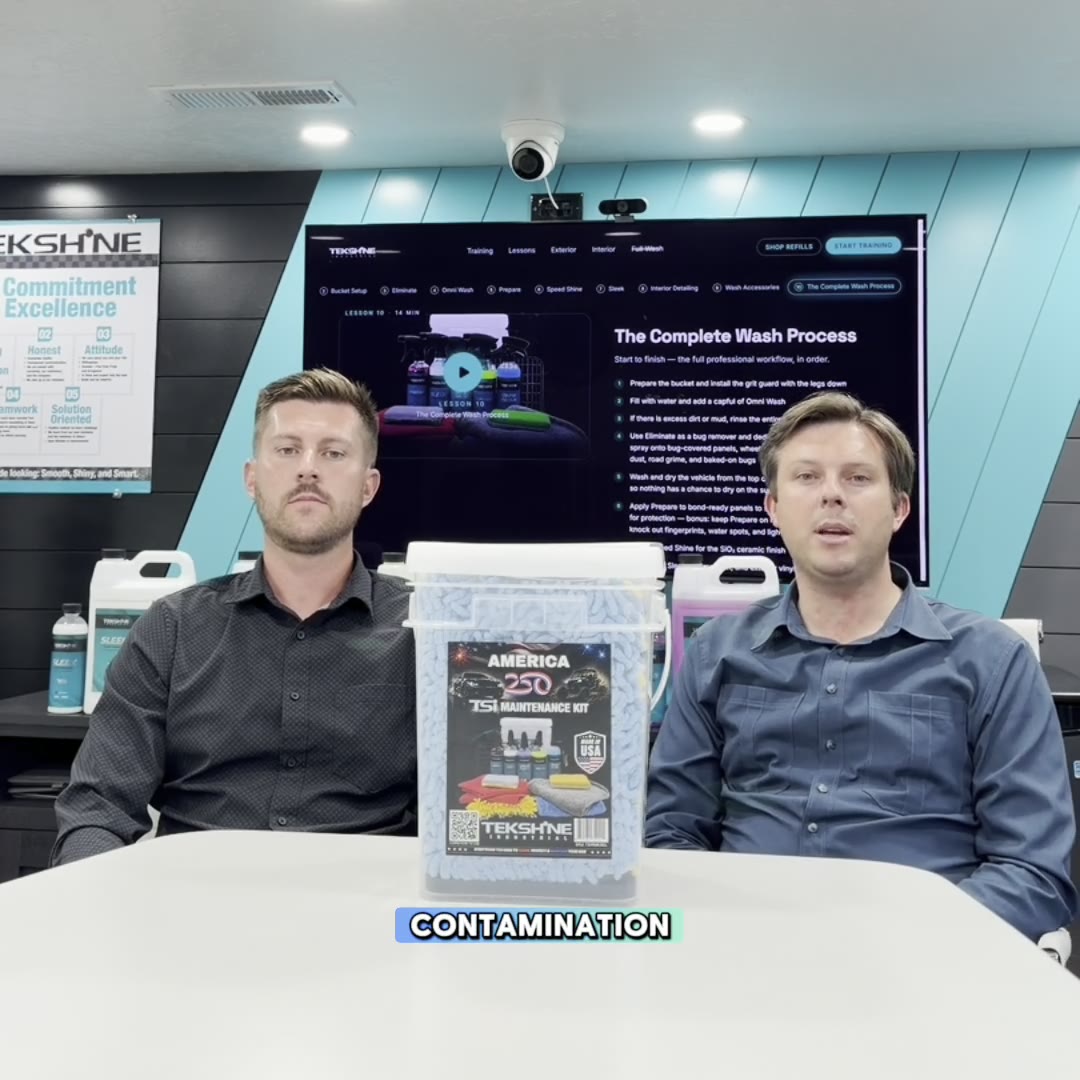
The Complete Wash Process
Start to finish — the full professional workflow, in order.
- 1Prepare the bucket and install the grit guard with the legs down
- 2Fill with water and add a capful of Omni Wash
- 3If there is excess dirt or mud, rinse the entire vehicle
- 4Use Eliminate as a bug remover and dedicated wheel and tire cleaner — spray onto bug-covered panels, wheels, and tires to break down brake dust, road grime, and baked-on bugs
- 5Wash and dry the vehicle from the top down, working one panel at a time so nothing has a chance to dry on the surface
- 6Apply Prepare to bond-ready panels to strip any remaining oils and prep for protection — bonus: keep Prepare on hand as a final touch-up to knock out fingerprints, water spots, and light dust between washes
- 7Apply Speed Shine for the SiO₂ ceramic finish
- 8Finish with Sleek on tires, trim, and exterior vinyl for a clean, satin look
Professional Tip
This is the exact sequence the kit was engineered around. Run it in order and the chemistry does the work for you.
You're a TSI-trained operator.
Run the full process once on your own ride. Then come back — there's always another panel to perfect.
Use this code for 10% off your next refill order at tekshineindustrial.com.